Triple Cure
Triple Cure repair material for hard-surface finishing applications

Features
- Superior Formula
- Cures with UV light and / or blue light
- Fast and easy way of repairing superficial cracks on the body side.
- Available in almost every color, Custom Color Matching is available
- Better long term color stability than regular chemical cure repair materials
- Cures in seconds even for large and big cracks
- Limit for depth of cure is around 1,5 mm
- Available in 6 grams syringes or in Bulk
- Repairs superficial cracks on the body side of vitrified ceramics (toilets, sinks, pedestals….)
Repair Elements
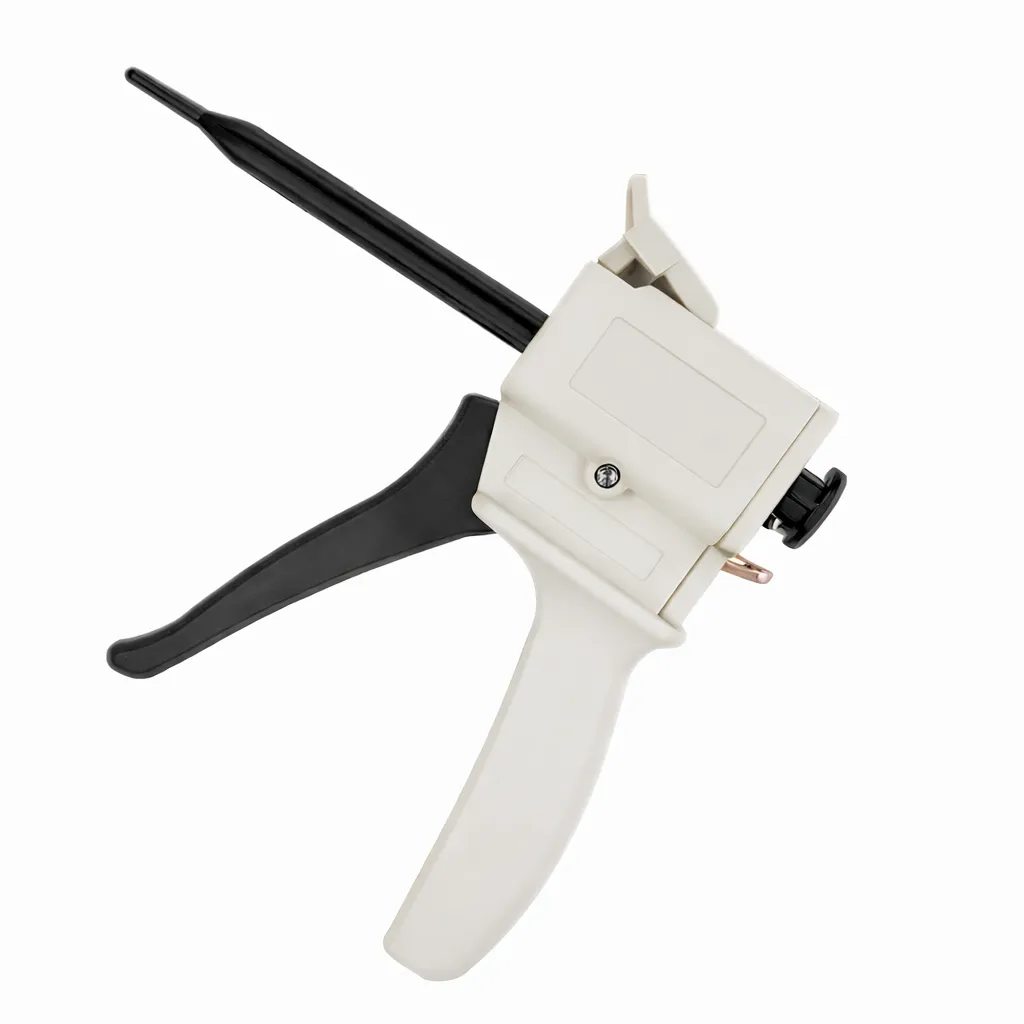
Dispenser
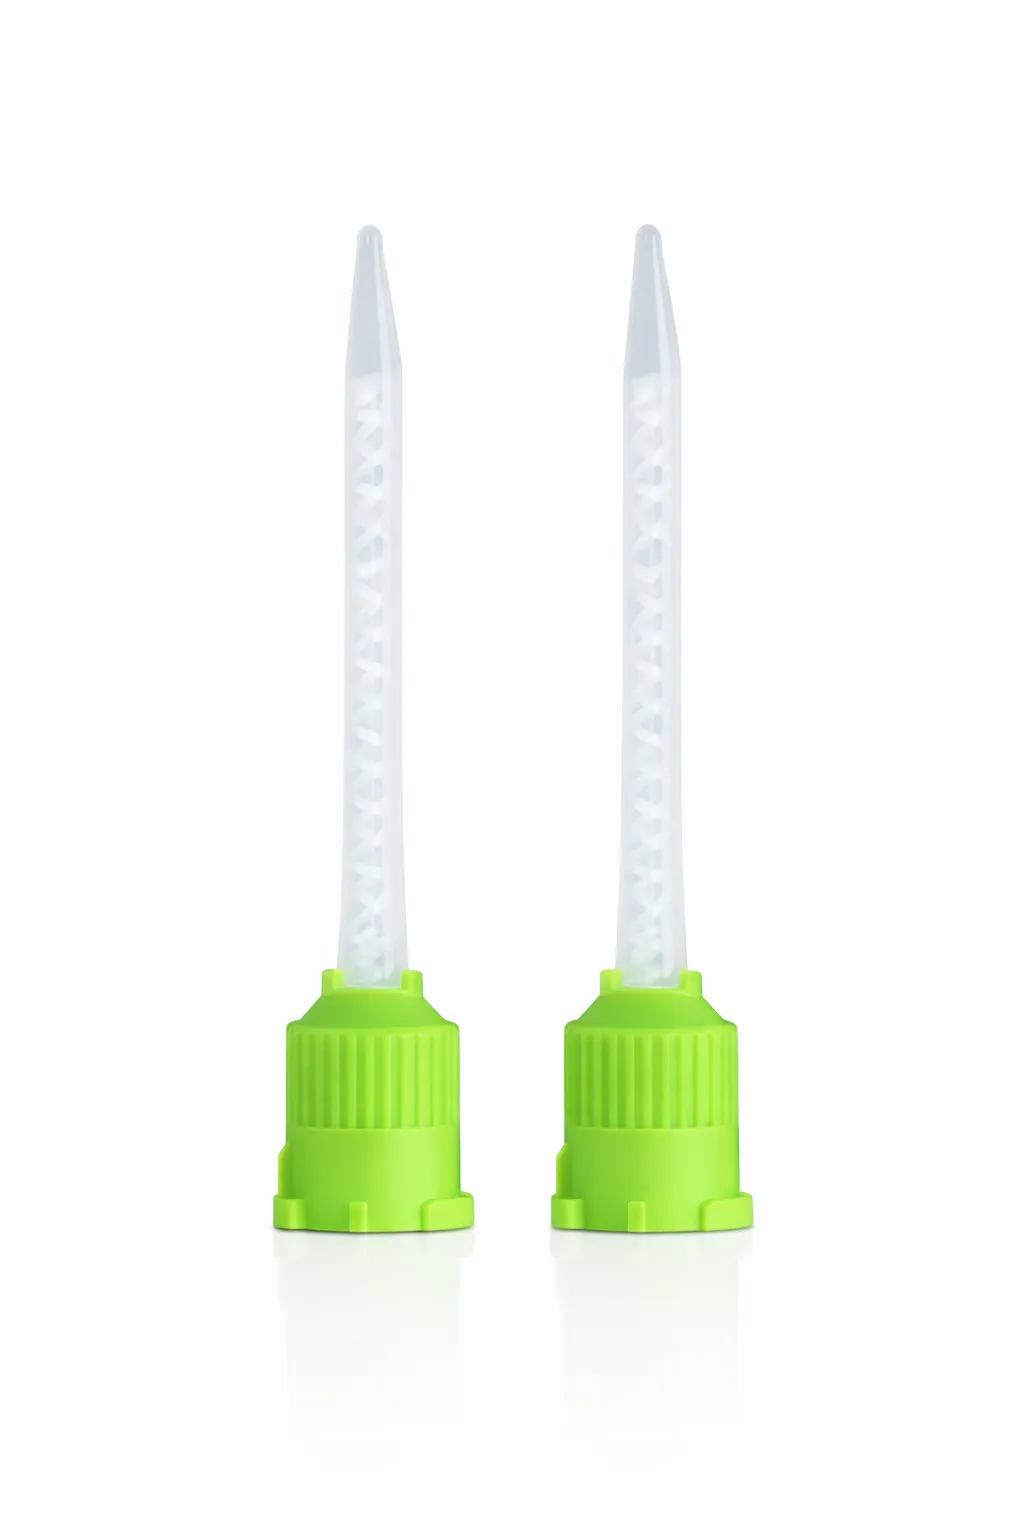
Mixing Tip
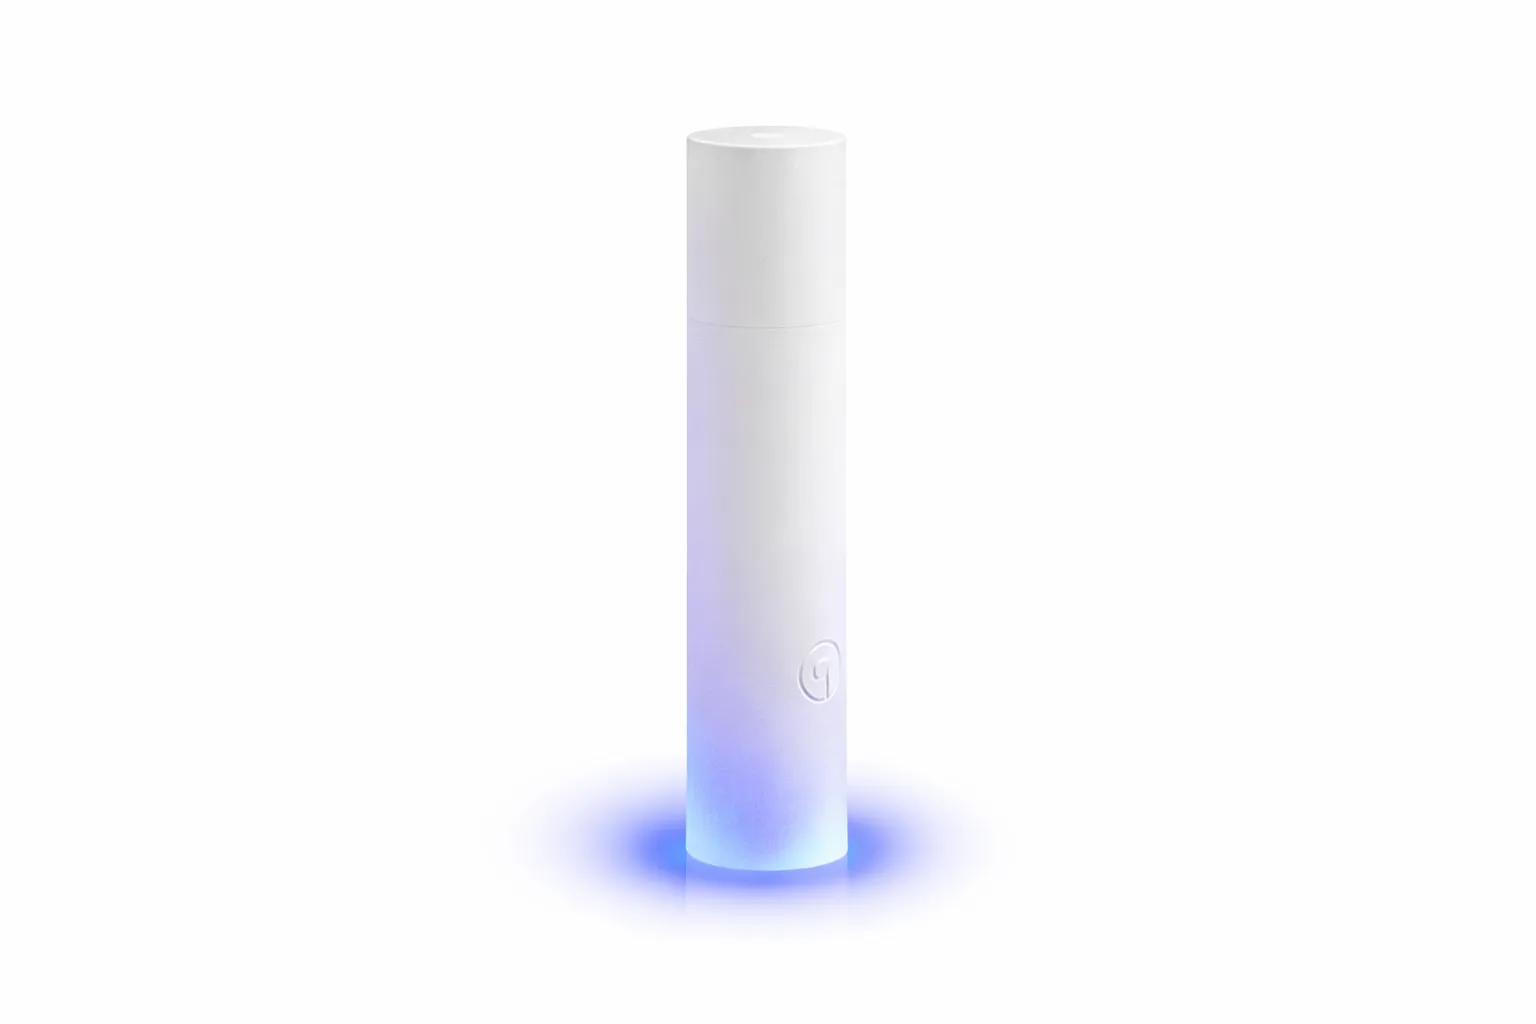
Light Units
Available Colors
Achieve perfect color matching with our expert service. To provide you with the most accurately matched repair material, please send us a sample tile or material from the original surface. Our specialists will use advanced color analysis techniques to create a precise match and send you a customized sample for evaluation. This ensures that your repair seamlessly blends with the original surface. For more information or to request a color match, Send us sample
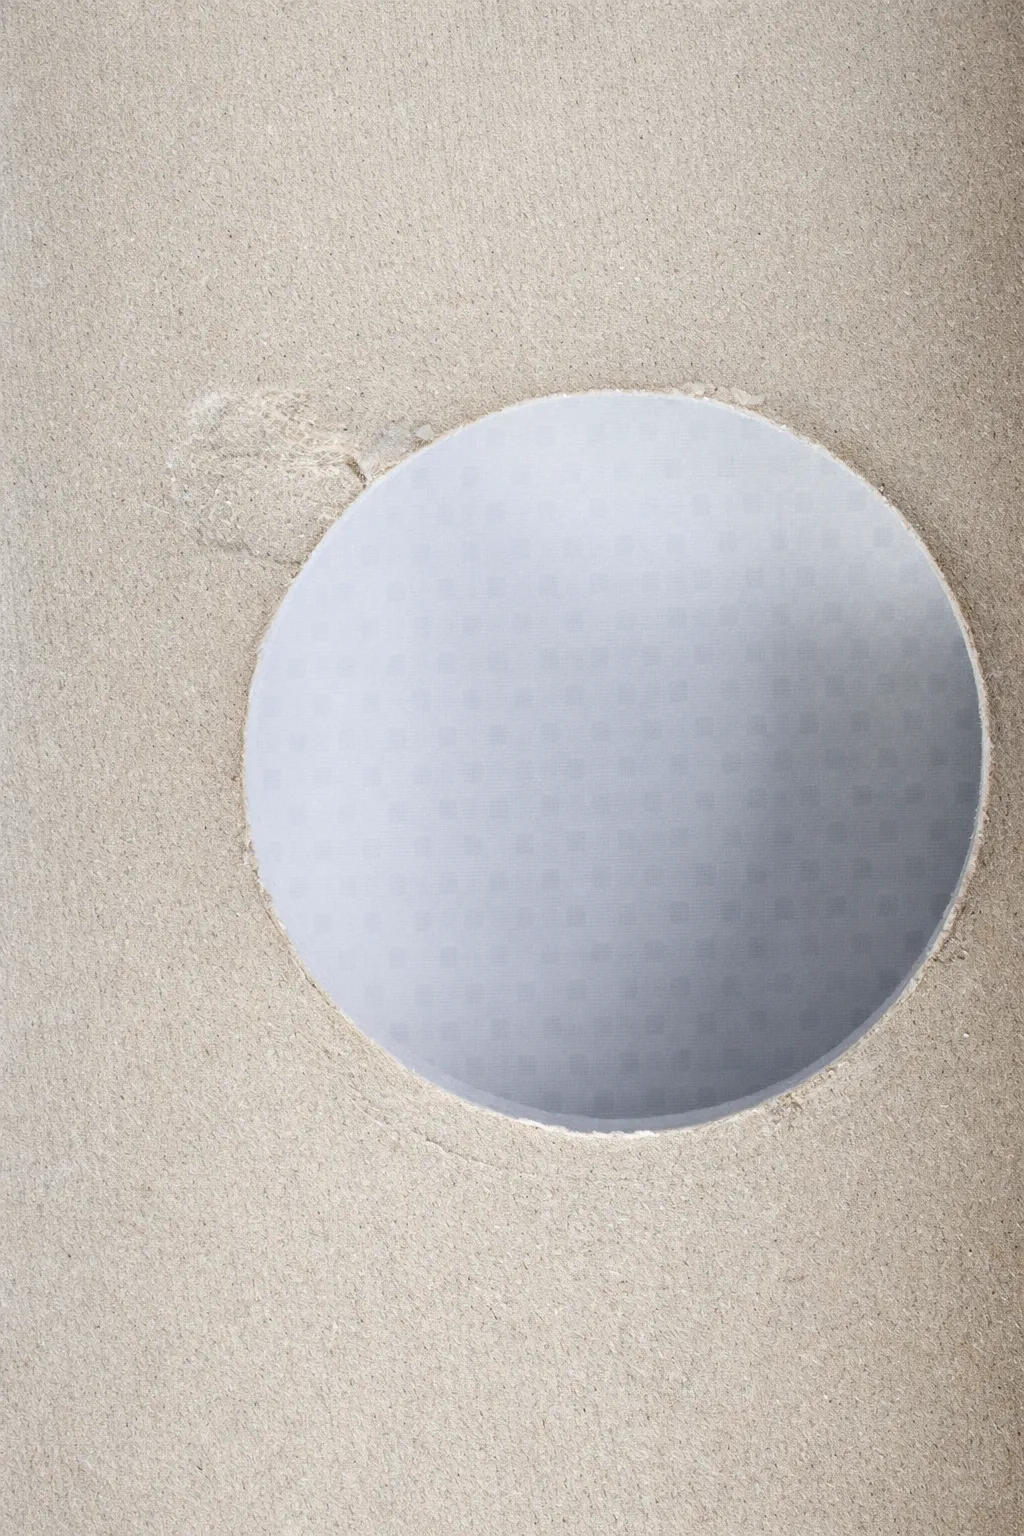 Before
 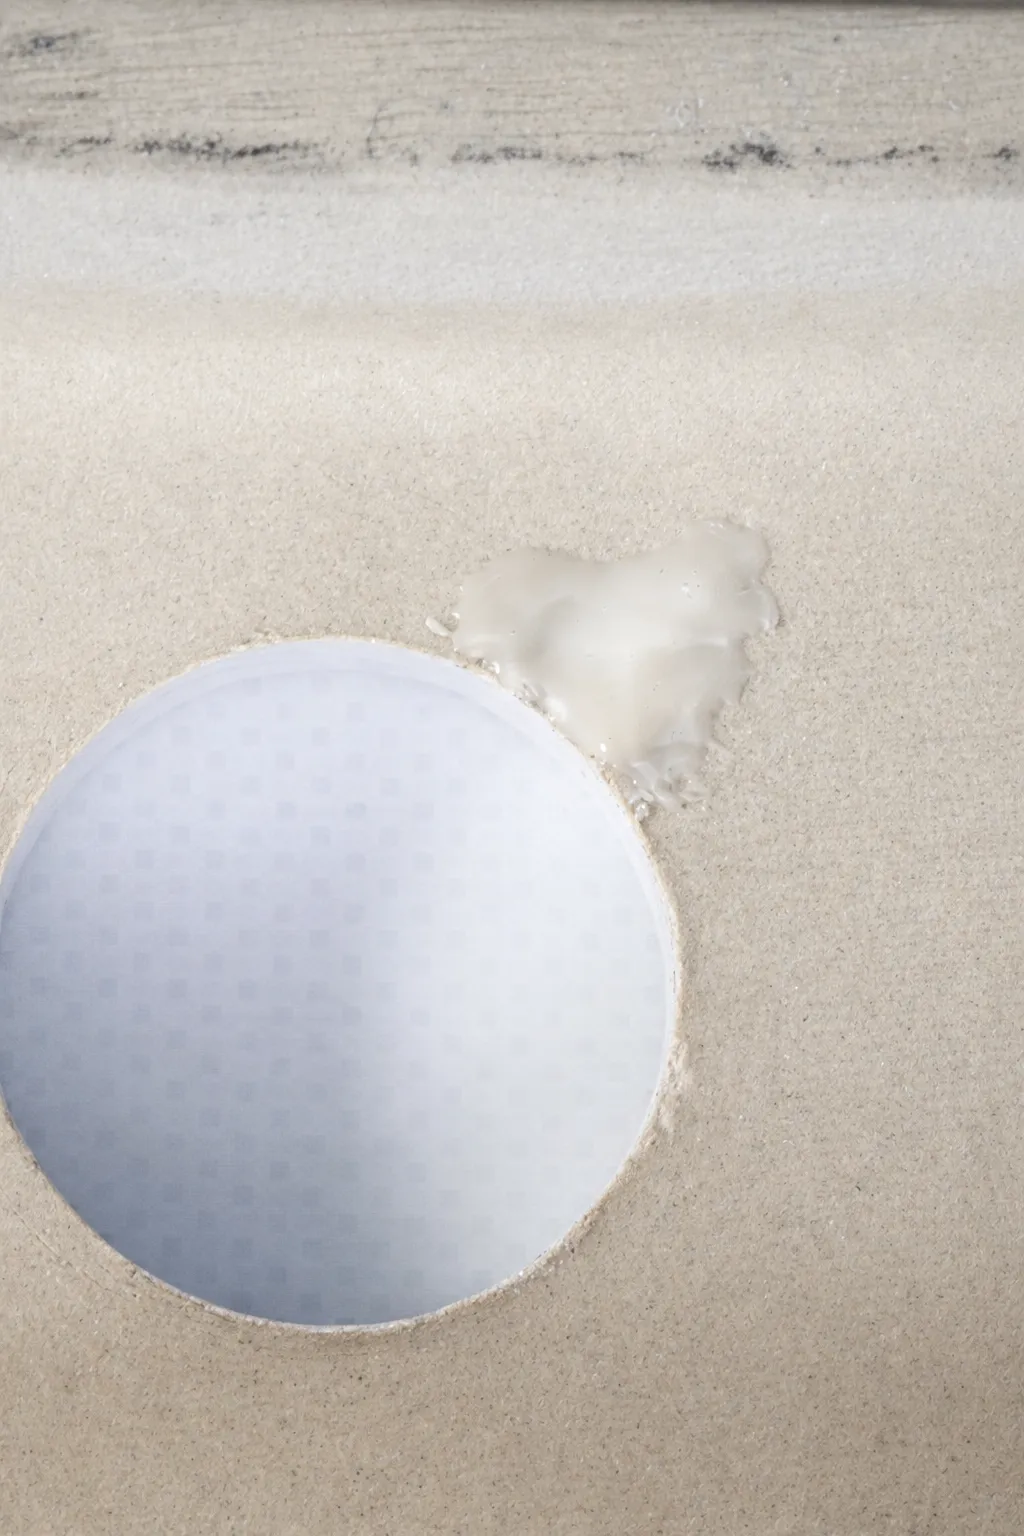 After
After How to Use
| Step 1 DEFECT | Defect on a ceramic/acrylic/porcelain body | NNREPAIRPLUS-BODY repair material repairs large body defects on ceramic, acrylic and porcelain hard surfaces. Products to use: NNREPAIRPLUS-BODY 50 ml cartridge | 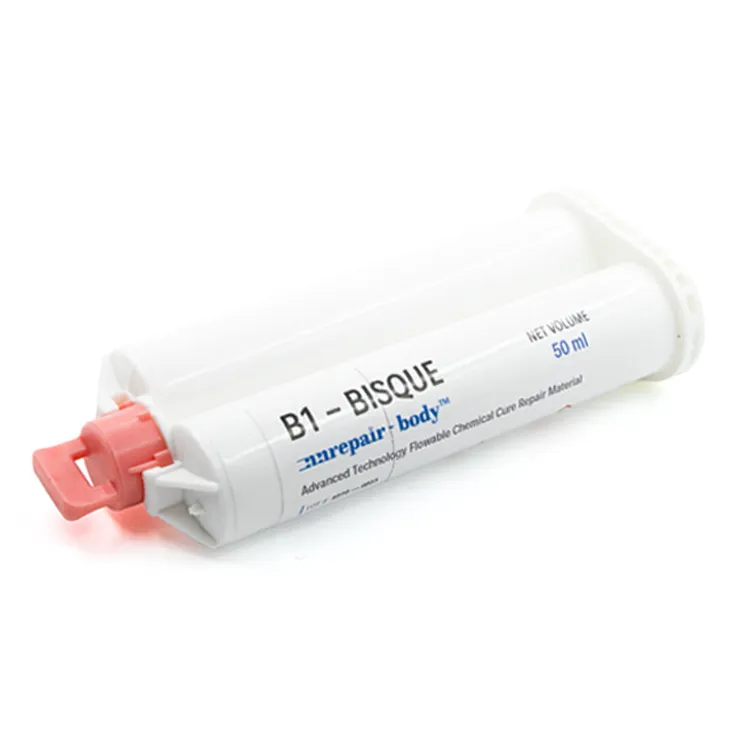 |
| Step 2 GRINDING | Grinding the defect | Grind the defect with a grinder (5000-7000 rpm is optimum). This creates porous surface which improves adhesion of the repair material to the rest of the surface. | 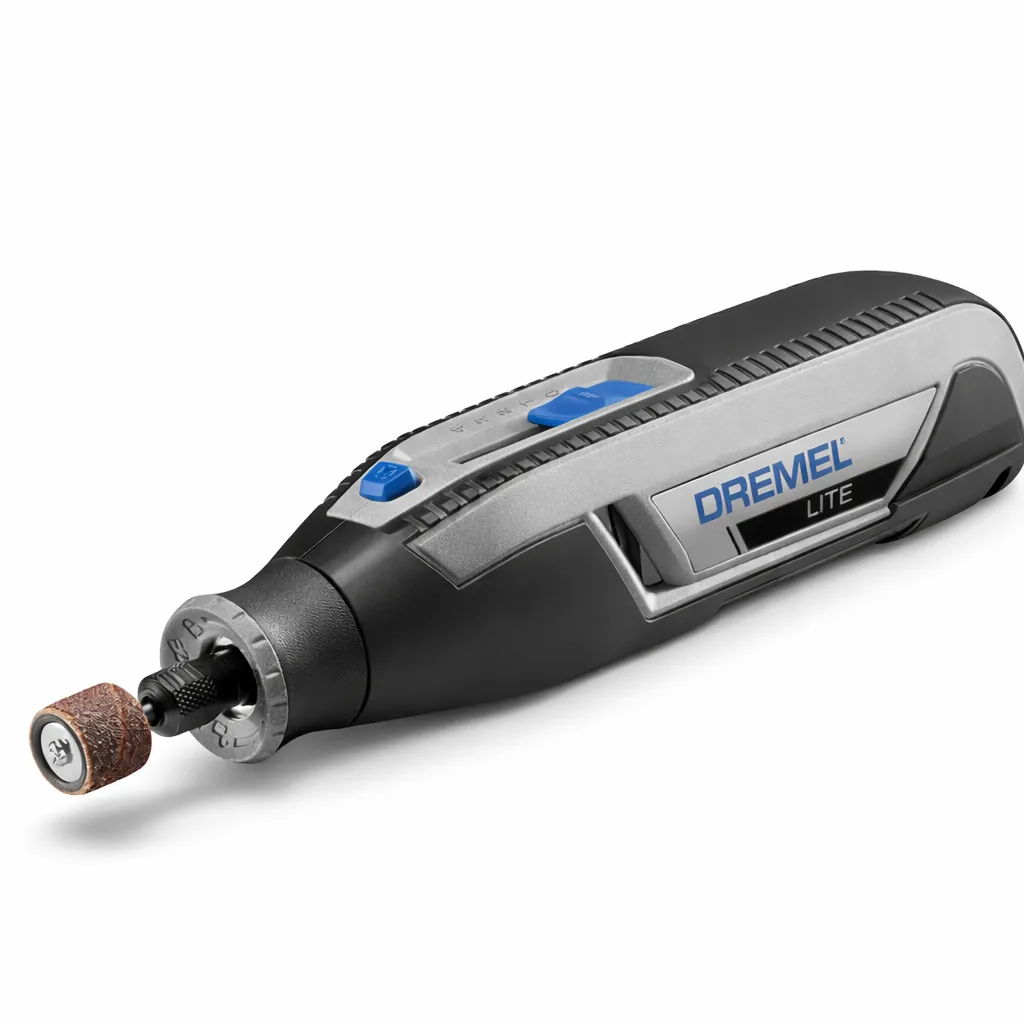 |
| Step 3 CLEANING | Cleaning the defect area | After grinding clean the defect with a piece of cloth or pressurized air. Do not allow any dust or particles in or around the defect area. Products to use: Microfiber cloth, paper towel or pressurized air | 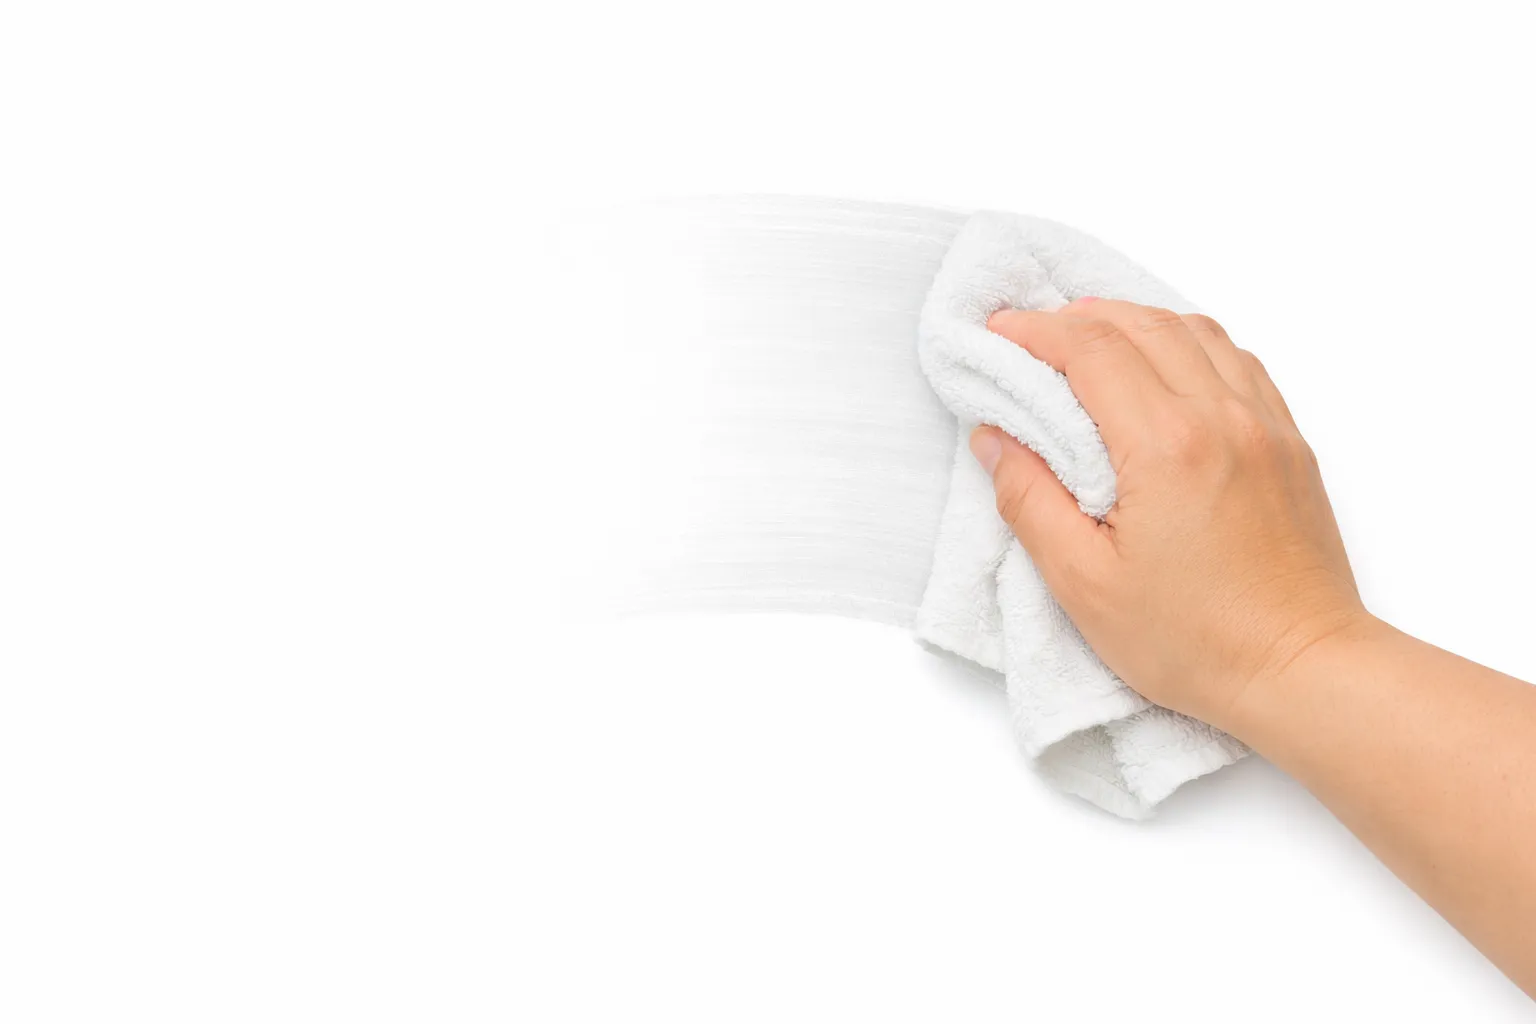 |
| Step 4 PREPARATION | Preparation of the material | Open the lid of the cartridge and attach the mixing tip. Place cartridge into the dispenser. Use yellow tip for larger defects and blue tip for smaller defects. Products to use: Application dispenser, Mix Tip | |
| Step 5 FILLING | Filling the defect | Fill the defect with the material and avoid overfilling. Test flow on a paper before application and then apply to the defect. | |
| Step 6 OPTIONAL | Recovering with plastic tape | This step is optional. You can gently shape the material with plastic tape and press lightly to obtain a cleaner surface before curing. Products to use: Plastic tape |  |
| Step 7 CURING | Curing | NNREPAIRPLUS-BODY cures chemically in approximately 3-5 minutes depending on ambient temperature. After curing, remove the tape. |  |
| Step 8 SANDING | Sanding | Remove excess material by sanding with 220 grit sandpaper. Products to use: Sandpaper (220 grit), After Use Wet Sandpaper (2500 grit) |  |
| Step 9 FINISHED | Finished repair | Finished repair. | 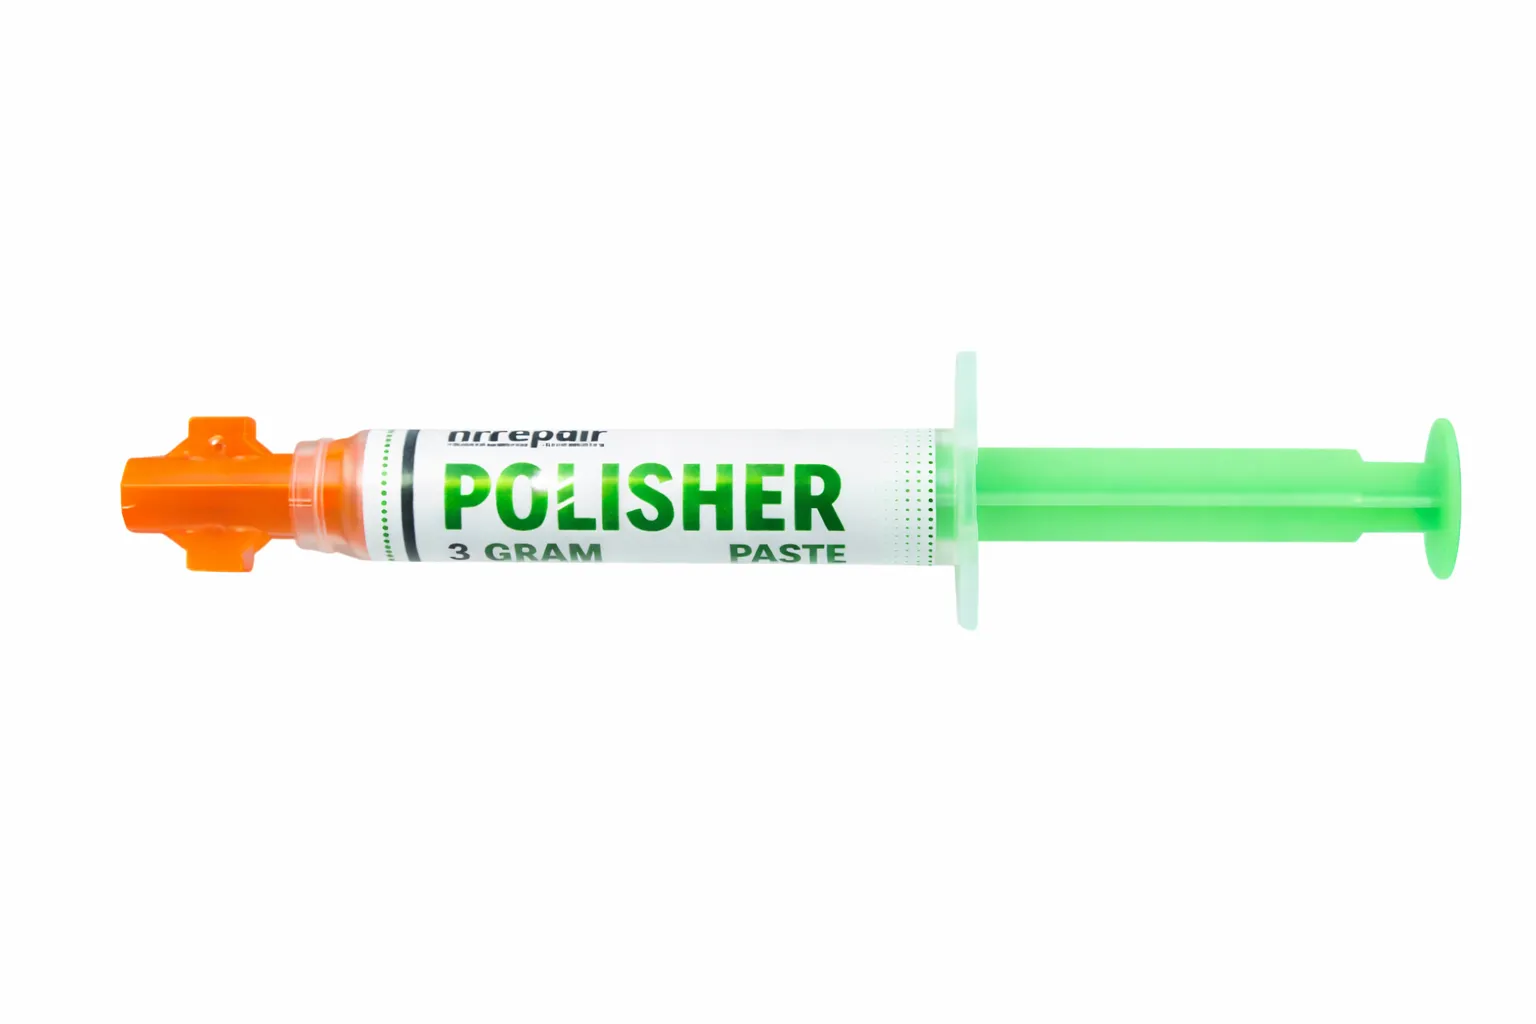 |
More Information
To learn more about this product or if you have any questions, feel free to reach out to us via our WhatsApp line. Our team is ready to assist you with detailed information and support. Lets Contact Through Whatsapp Line