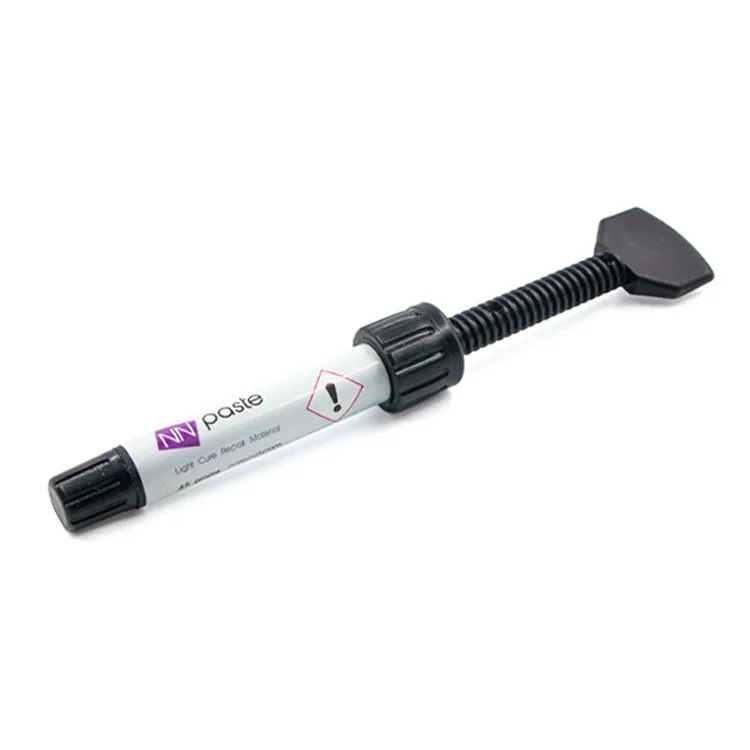
NN - Paste
For minor glaze defects on Ceramics/Acrylics and other hard surfaces
Features
- Superior Formula
- Cures with blue light
- Repairs glaze defects such as pinholes, glaze bubbles, small dirt particles…
- Very good polishing properties
- No yellowing or fade with time
- High gloss finish
- The repair area will not get dirty easily with time
- 70% nano filler technology (may change with different colors)
- Cures with blue light
- Available in almost every color, Custom Color Matching is available
- 3,5 grams syringe
- Also works great on other hard surfaces.
Repair Elements
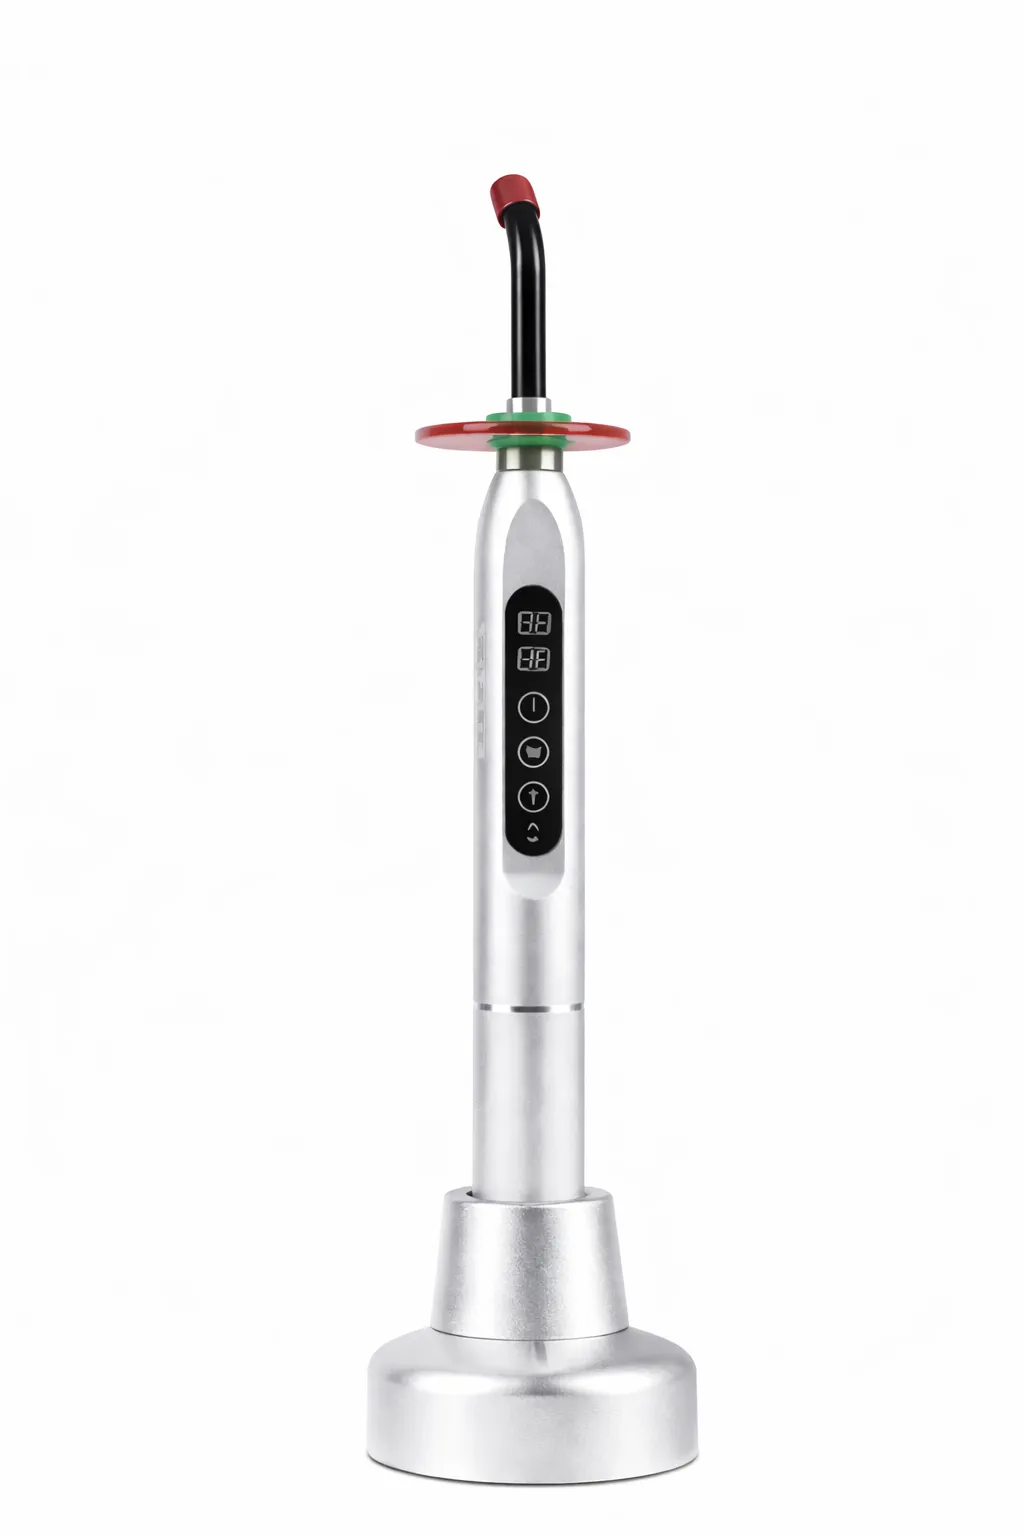
Blue Light
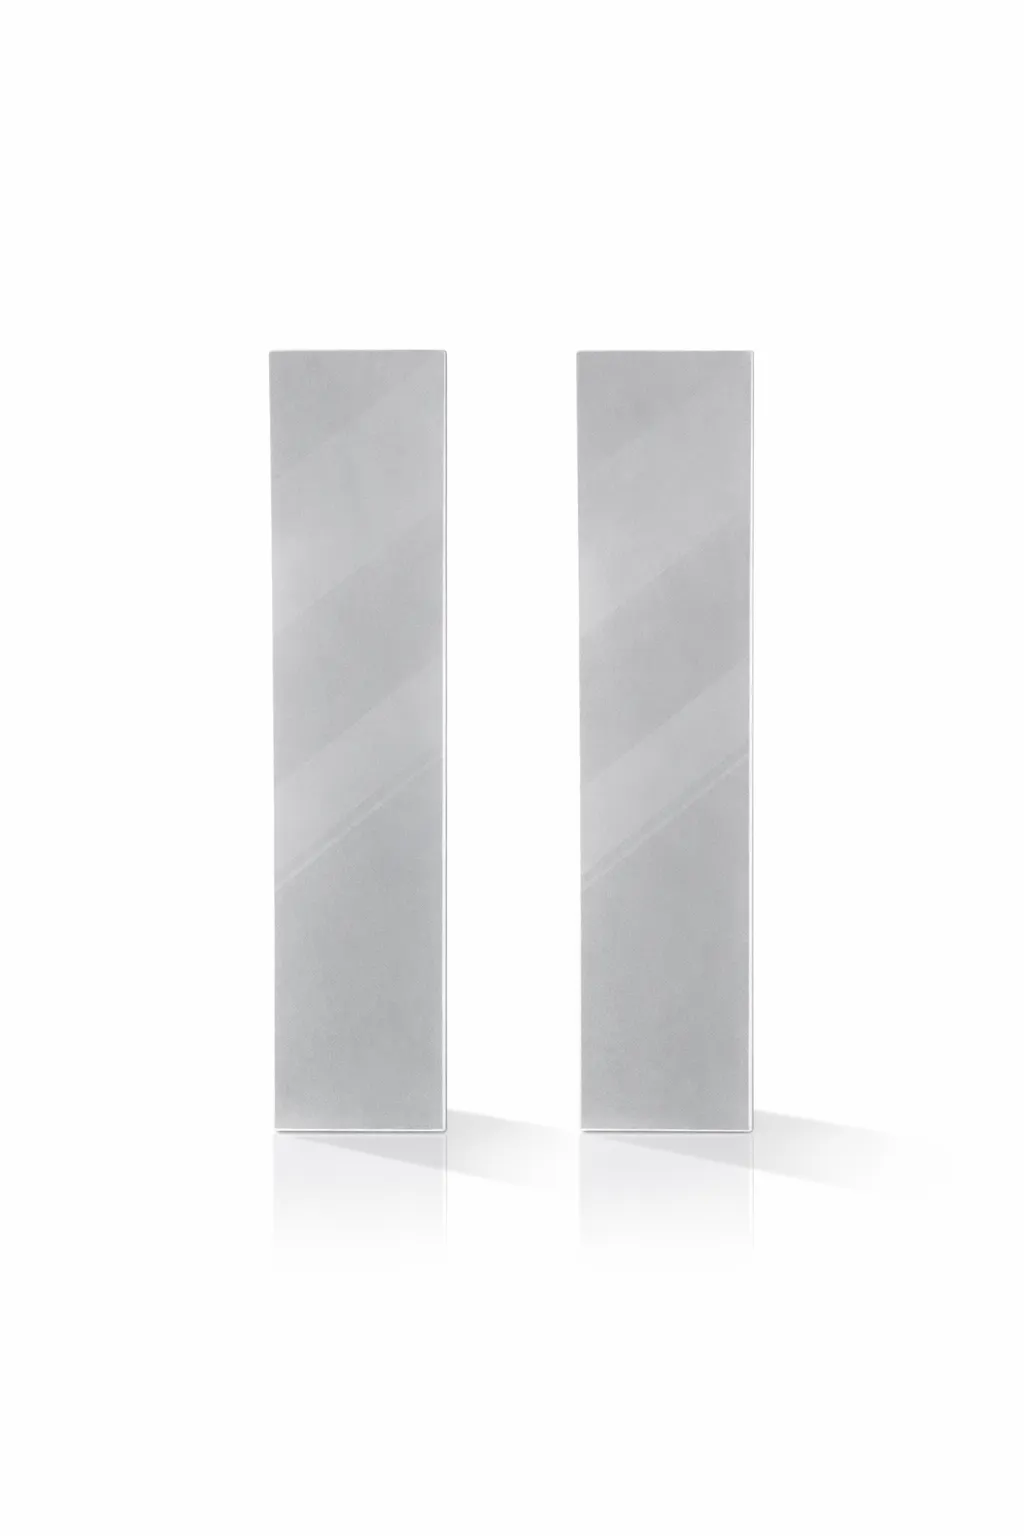
Levelling Tape

Micro Tips
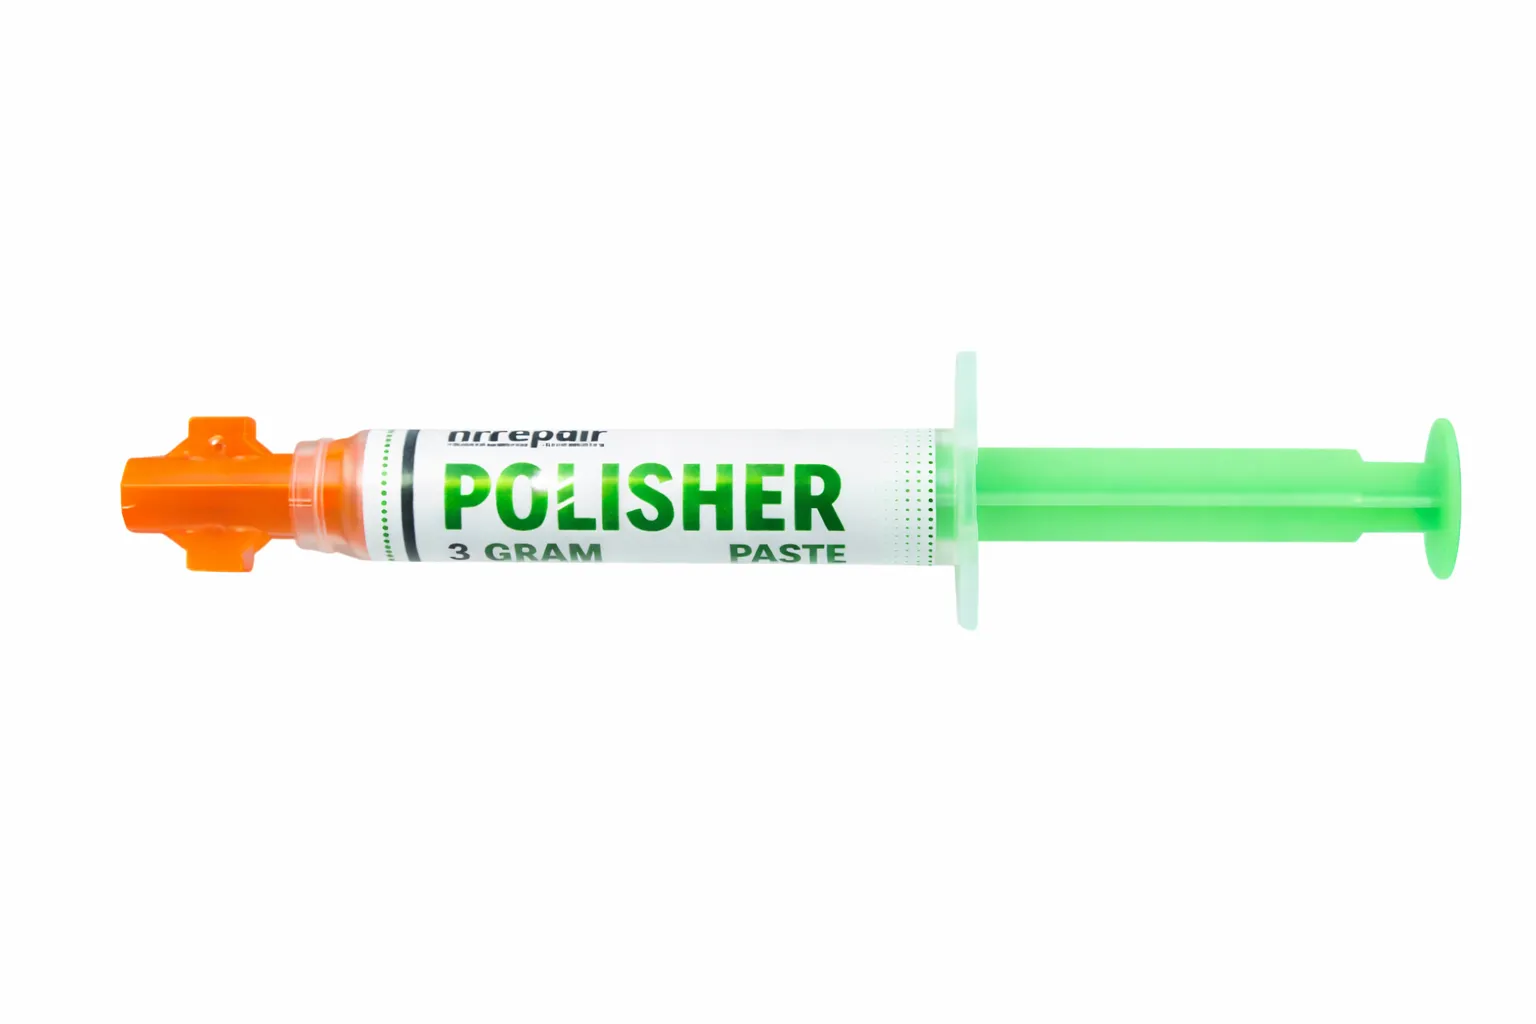
Polisher Syringe

Primer

Sandpapers
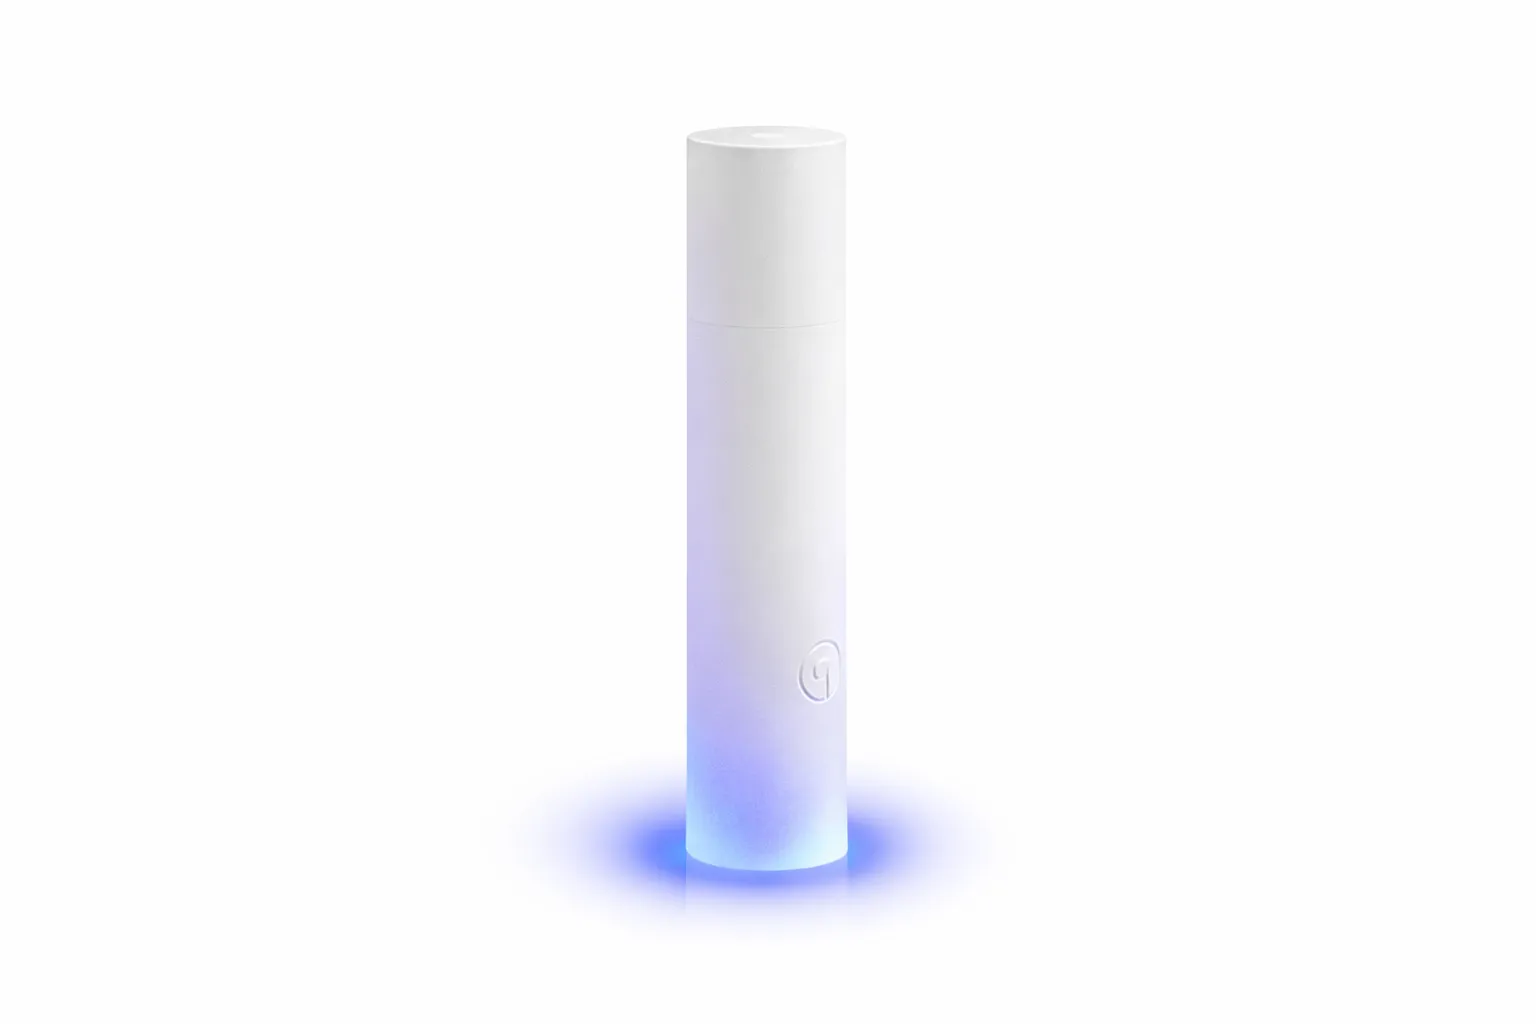
UV Light
Available Colors
Achieve perfect color matching with our expert service. To provide you with the most accurately matched repair material, please send us a sample tile or material from the original surface. Our specialists will use advanced color analysis techniques to create a precise match and send you a customized sample for evaluation. This ensures that your repair seamlessly blends with the original surface. For more information or to request a color match, Send us sample
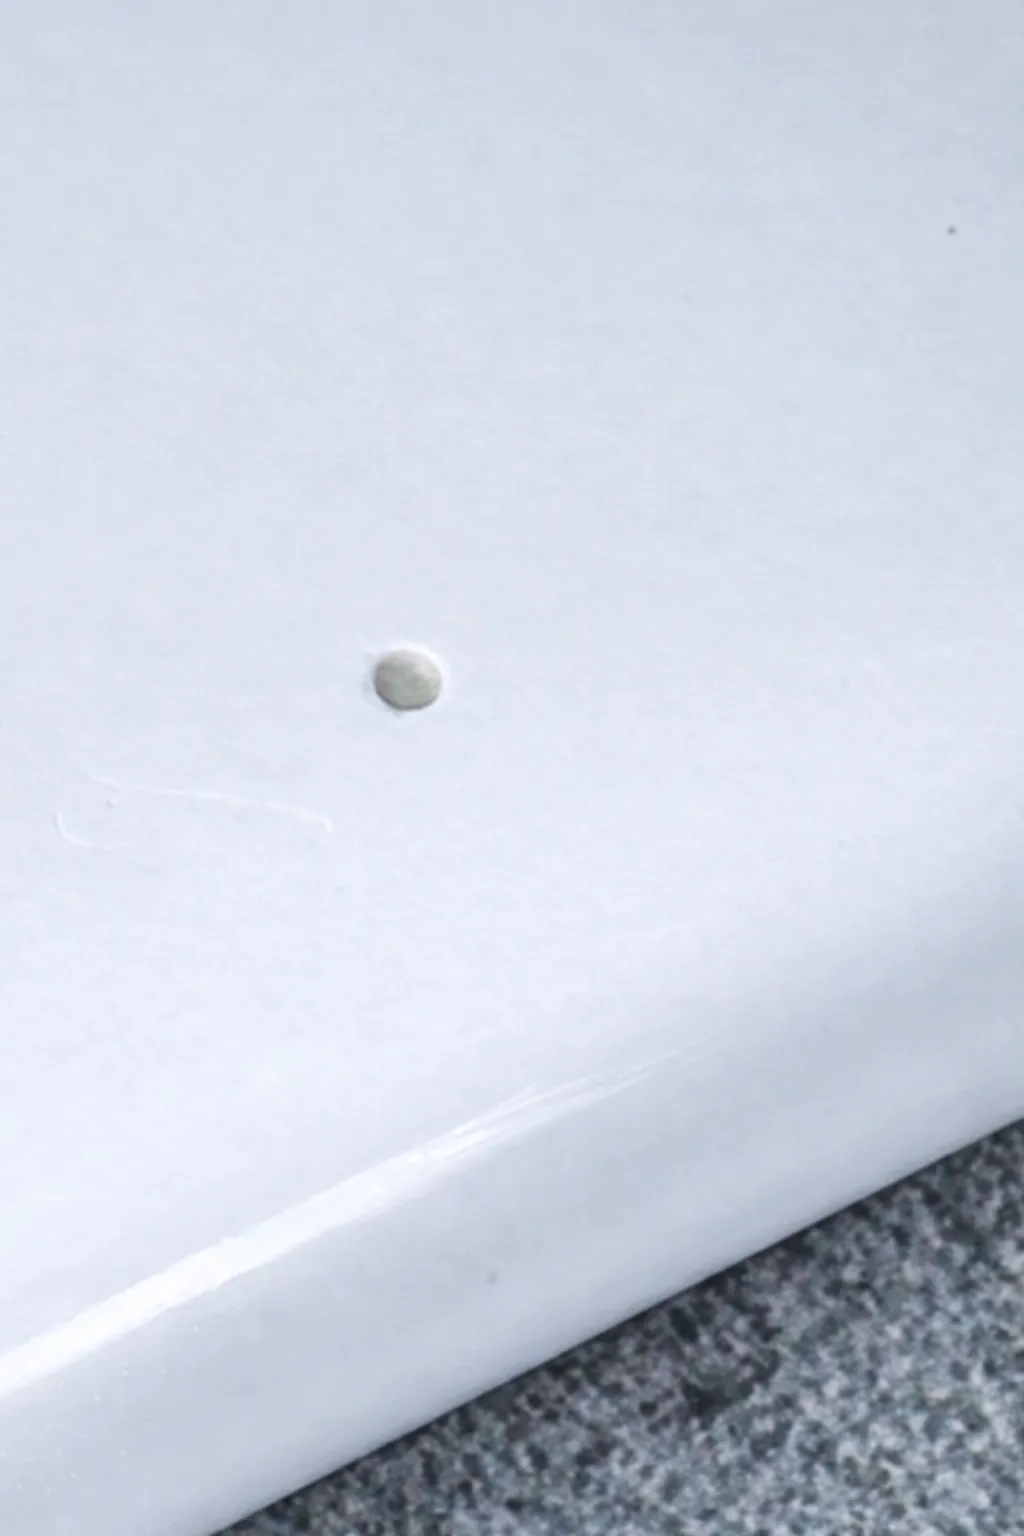 Before
 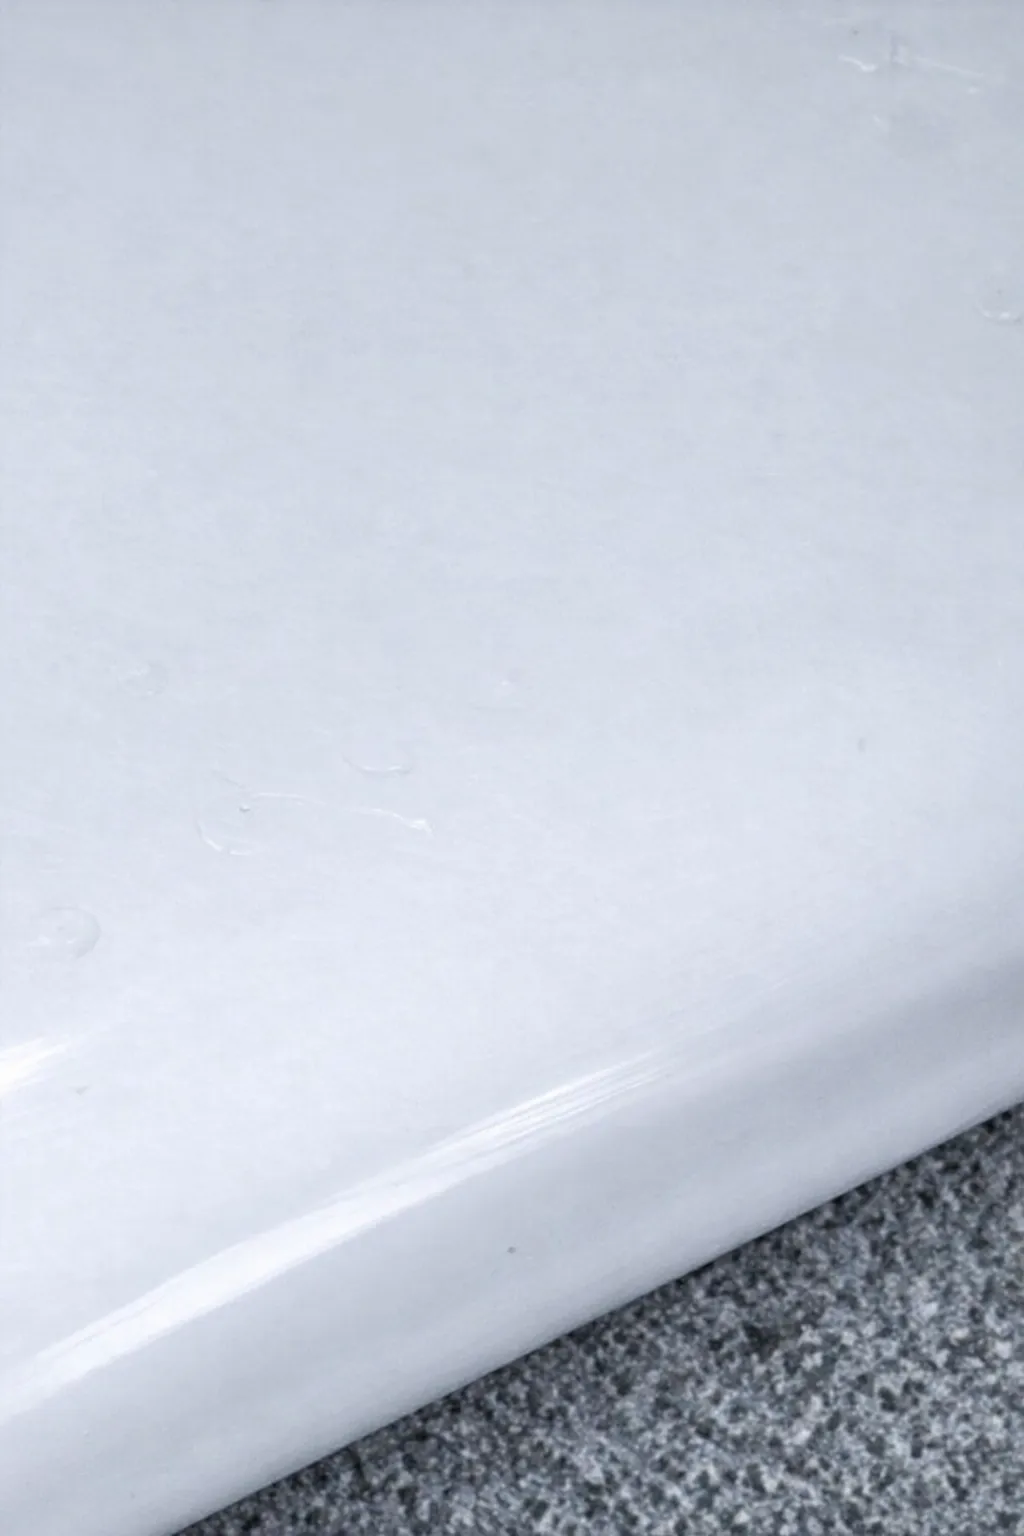 After
After How to Use
| Step 1 BEFORE GRINDING | Defect on a ceramic/acrylic/porcelain surface | Light cure repair material repairs small defects on very visible areas of ceramic, acrylic, porcelain and other hard surfaces. | 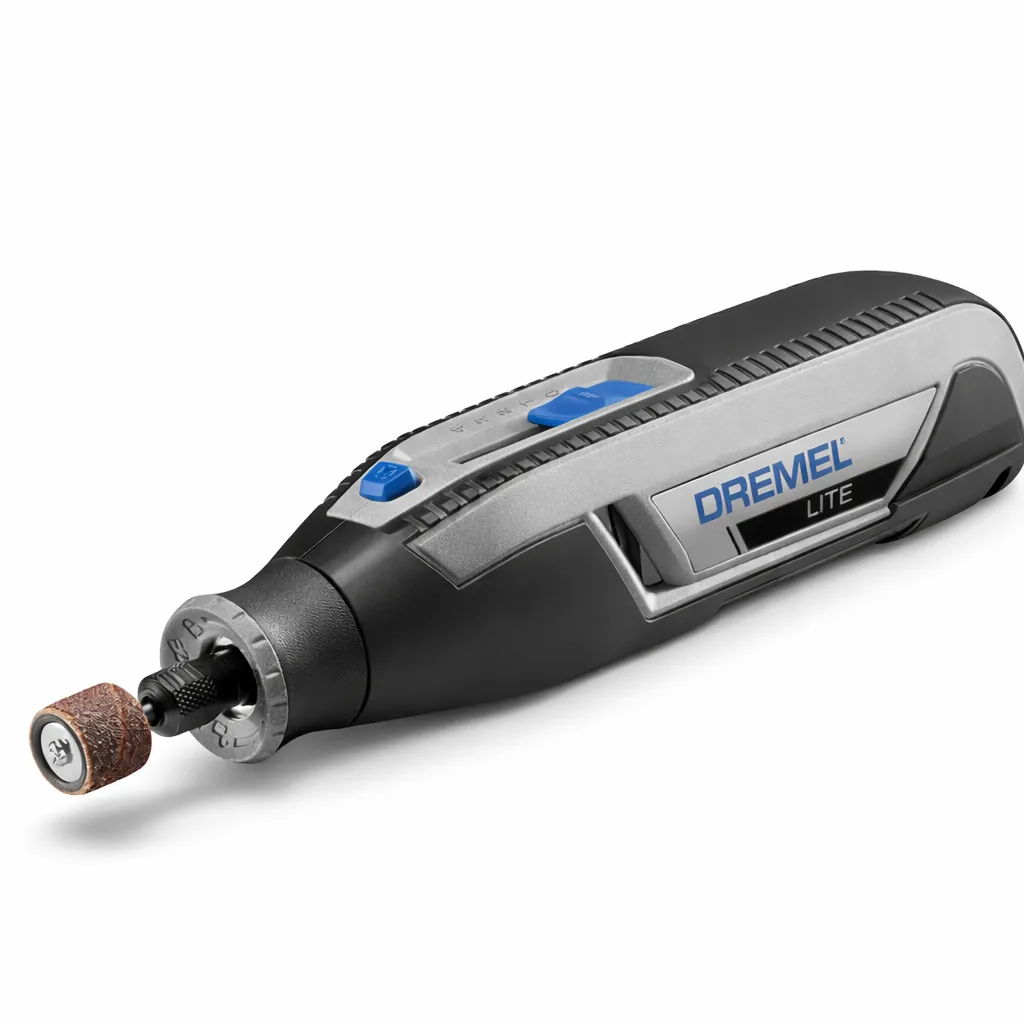 |
| Step 2 AFTER GRINDING | Grinding the defect | Grind the defect with a grinder (5000-7000 rpm is optimum). This will create porous surface which will lead extra adhesion of the repair material to the rest of the surface. | |
| Step 3 | Cleaning the defected | After grinding, clean the defect with a piece of cloth or pressurized air. In order to have a better finish do not allow any dust or particles in or around the defected area. | 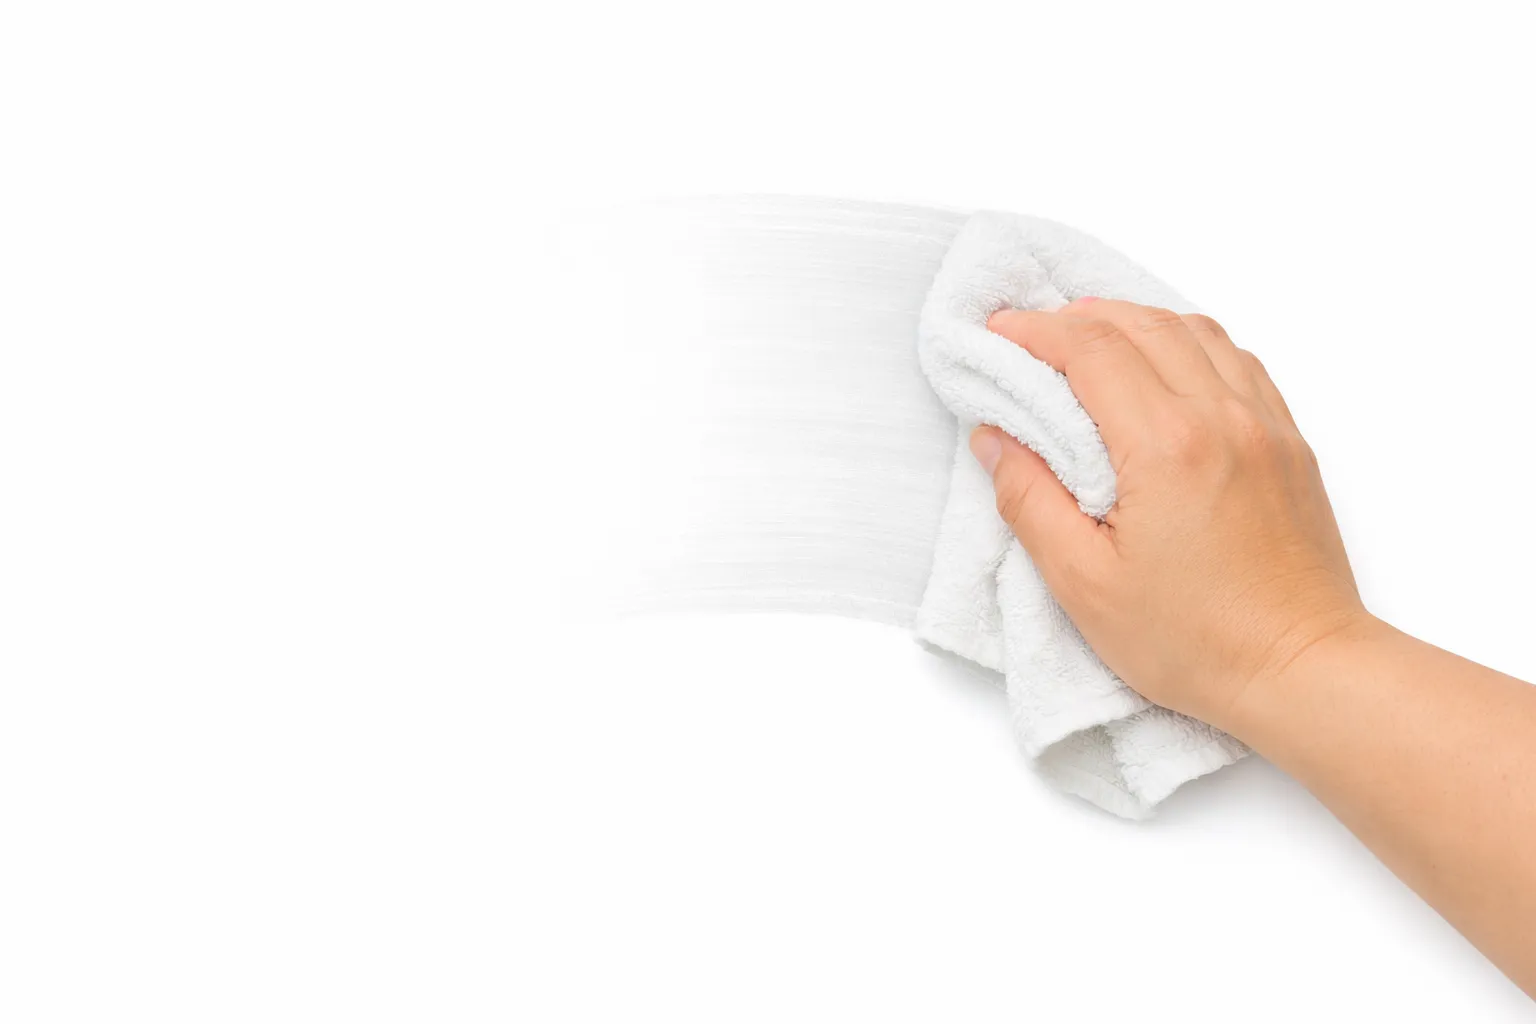 |
| Step 4 | Apply bond around the defect area | Apply bond to the defect area. After application, wipe it gently with a cloth without removing all of the bond. It is enough if bond remains at the bottom of the defect and around its edges. | |
| Step 5 | Filling the defect with Repair Material | When you fill the defect with the material do not let air bubbles form. If they appear, the finished repair will not look good. If you observe air bubbles or any particles (like dust) in the repair material remove | 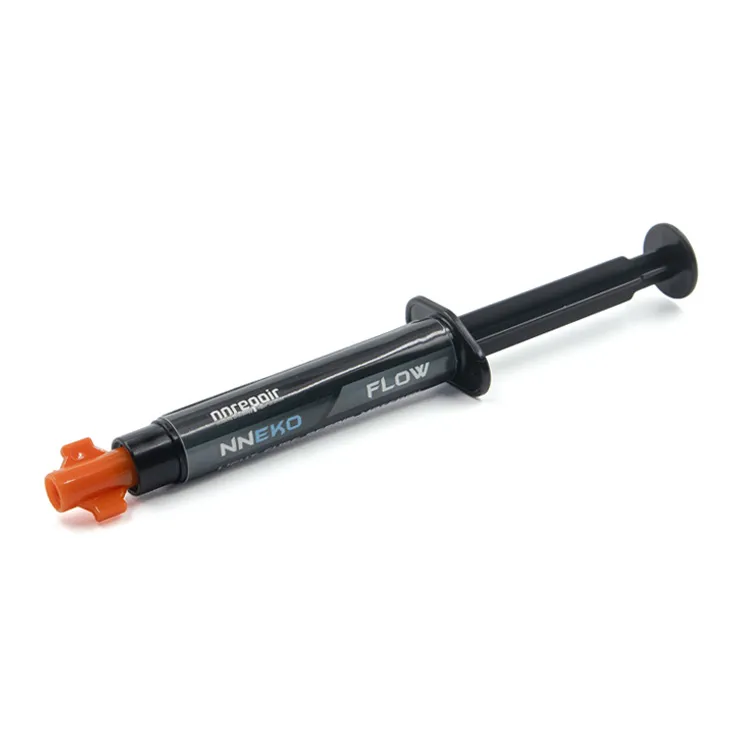 |
| Step 6 | Cover the repair material with "LEVELLING TAPE" | Before covering the repair material with levelling tape make sure that levelling tape is clean. When you cover the repair material with levelling tape you can observe any particles (such as dust, etc) stuck | |
| Step 7 | Pressing repair material into the defect | After covering material with levelling tape with the help of applicator tool press on the levelling tape. This will help repair material to penetrate every part of the defect. Make sure that you filled the defect | |
| Step 8 | Curing with Light | Repair material is a light cure material. It cures (becomes solid) with visible blue light. Cure the repair material (levelling tape is still on it) with blue light for 40 seconds. If the defect is deeper than 2 mm | |
| Step 9 BEFORE SANDING 220
AFTER SANDING 2500 | Sanding | After curing the material with blue light, touch and push on the levelling tape before removing it. Make sure that the material is fully cured (became solid). Then gently remove the levelling tape. If you observe any uncured repair material cure it more with blue light. Remove the excess repair material gently by sanding with SANDPAPER - 220 GRIT. When removing the excess repair material with 220 grit sandpaper micro scratches may occur on the repair area. In order to remove these scratches from the surface sand it with 2000 GRIT sandpaper. | |
| Step 10 | Polishing | Repair material is a light cure material. It cures (becomes solid) with visible blue light. Cure the repair material (levelling tape is still on it) with blue light for 40 seconds. If the defect is deeper than 2 mm cure with layers as shown on the picture. | |
More Information
To learn more about this product or if you have any questions, feel free to reach out to us via our WhatsApp line. Our team is ready to assist you with detailed information and support. Lets Contact Through Whatsapp Line